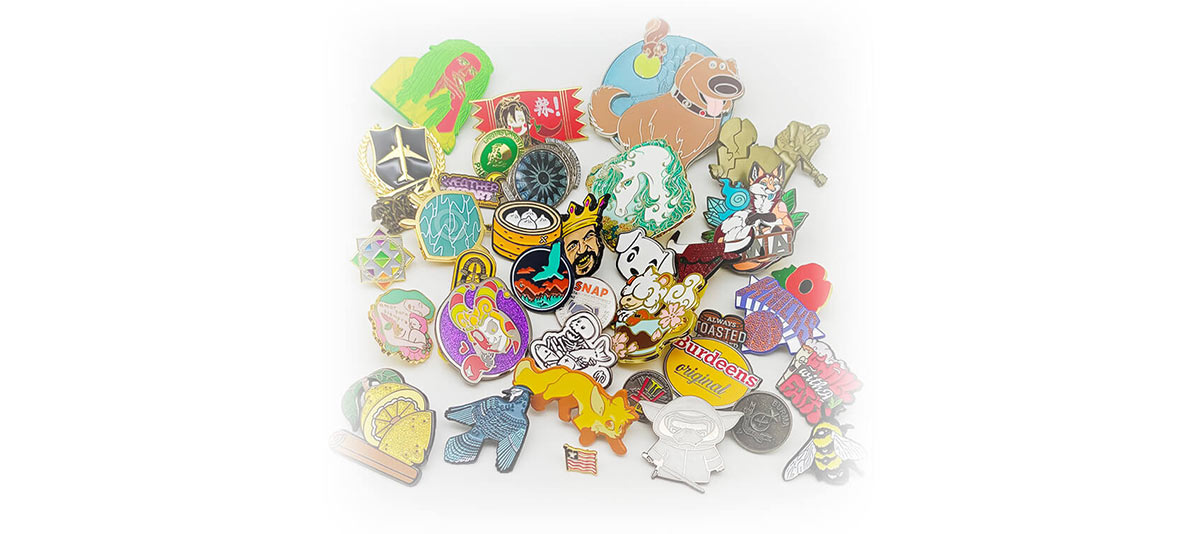
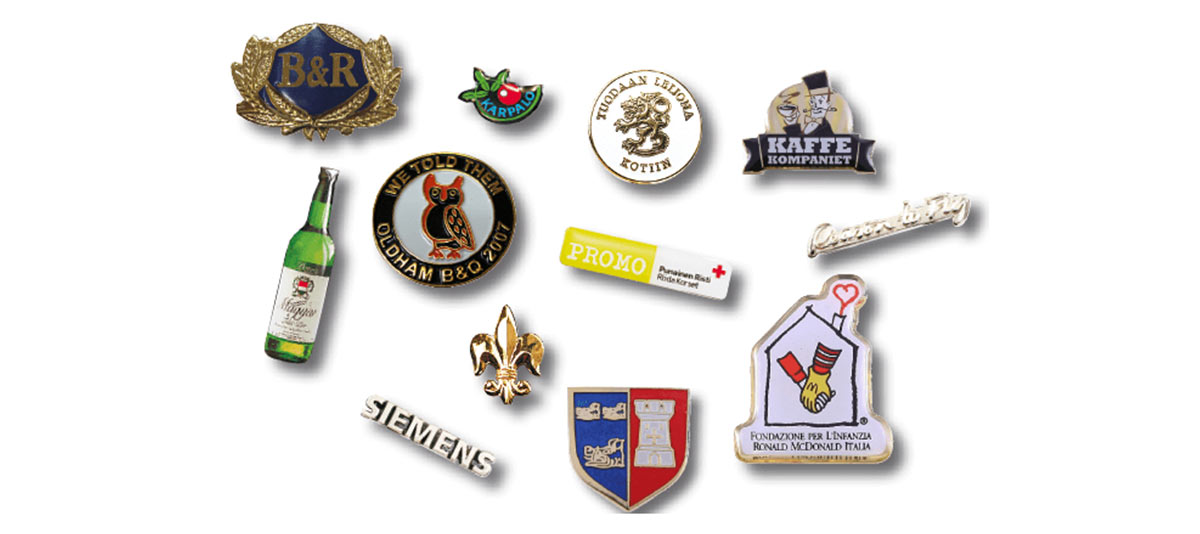
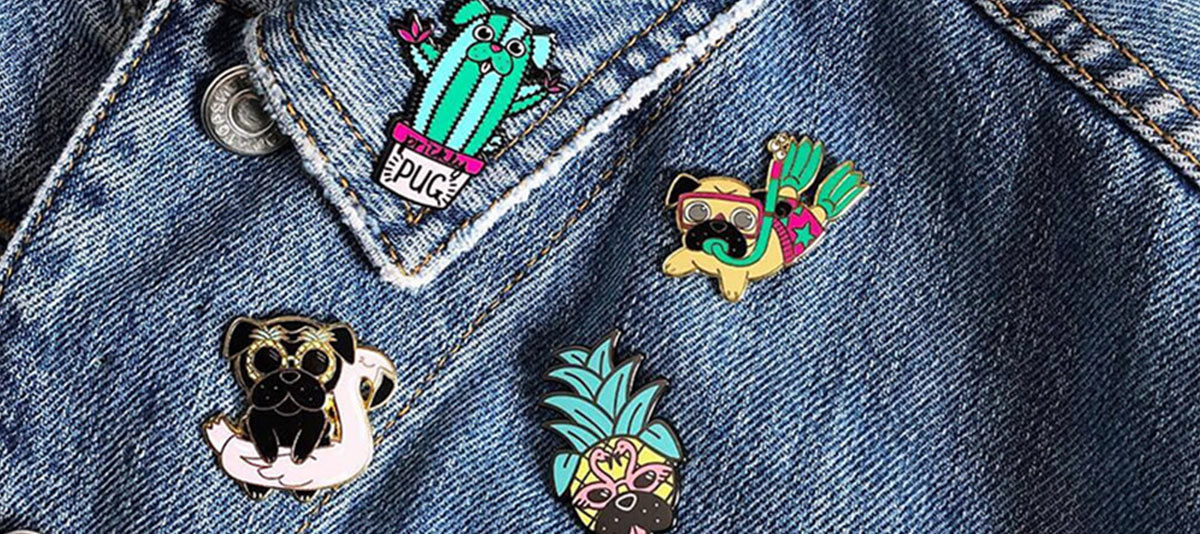
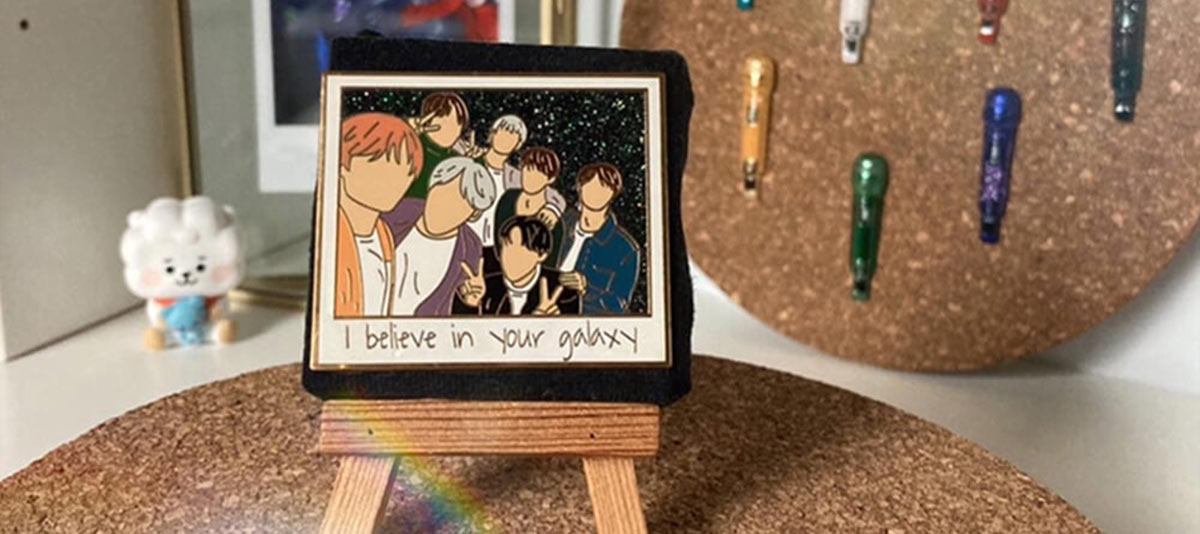
It’s no secret that pins are fun. Whether they’re decorating a purse, adding sparkle to a denim jacket, or showcasing company pride with a stylized logo, they’re a unique way to make something your own. But making an Enamel pin is much more than coming up with an interesting design and deciding where to put it.
It involves complex materials and more options than you can imagine…Until recently, this necessary production tool was only available to large-scale creators and enterprises. But today, any creator can create custom Enamel pins and use them to adorn clothes, sell in online stores, or enhance a company’s branding.
To make a high-quality custom Enamel pin, all you need to do is:
- Find a manufacturer
- Choose your pin type
- Customize your pin specifications
- design your pin
- Approved samples
- send your pin
Bringing your entire vision to life is a very simple and straightforward process as long as you work with the right manufacturer. We’ll walk you through the details on how to make an enamel pin from start to finish.

1. Find a manufacturer
Some custom products can be completely DIY. While you can definitely outsource the production of printed t-shirts, stickers, or prints, with the right equipment and a little patience, you can also produce these high-quality custom products at home. However, when it comes to products such as patches, socks, beanies, coins, key chains, and enamel pins, it’s best to leave fabrication to the experts.
Especially if you are just starting your enamel pin business, you cannot work with unreliable or low-quality enamel pin manufacturers. The difference between quality enamel pins and cheap Enamel pins can be completely disastrous for you, your business, and your customers. But you can’t do a good job of vetting every factory or company you consider working with in person…so how do you know you’re getting a great value?
A good manufacturer of Enamel pins will allow you to easily design and customize high-quality pins at affordable prices, with satisfaction guaranteed. Ideally, they’ll offer an online design service along with great customer service and plenty of customization options.
Here are a few things to keep in mind when researching various pin manufacturers:
- Multiple pin options are available
- Provides excellent customization options
- provide design services
- Cooperate with top factories
- Provide excellent customer service
- fast turnaround time
- fair pricing
- free shipping
- Low MOQ
- great review
- satisfaction guarantee

2. Choose your pin style
It’s time to focus on the pins themselves once you’ve found a manufacturer. If you’ve already started making Enamel pins, you’re already halfway there. You’ve made a great choice – Enamel pins are a colorful, bold, and iconic way to accessorize a plain jacket or bag. (And they’re the perfect impulse buy to add to your online store or near the checkout line at your brick-and-mortar boutique!)
But wait! Did you know there are two main types of Enamel pins? You can choose a soft Enamel pin or a hard Enamel pin. The type of enamel pin you choose will not only affect the cost and production process of the pin but also its overall appearance.
1) Soft Enamel pin
Soft Enamel pins use enamel that forms valleys between the wires. Essentially, soft Enamel pins are first plated with metal molding lines, then the enamel color is added to the open layer of the design. Soft Enamel pins have the look of a classic textured pin. It also allows for a higher level of detail. Soft Enamel pins are one of the most affordable custom pin options.
2) Hard Enamel pin
Hard Enamel pins are also made with colored enamel, but the workmanship looks a bit different. Hard Enamel pins are made by adding each color individually and then individually baking the enamel directly onto the pin. This allows for a seamless, fluid, colorful effect that is not interrupted by metallic wires. The enamel is polished flat on the pin surface. Hard Enamel pin generally costs more than soft Enamel pins due to the more involved design process. Of course, you can also choose a custom hard enamel pin according to your requirements.

3) Stamping pin
Molded pins use raised and recessed metal to bring custom designs to life. They’re sort of like coins in that the design is in the texture rather than the color or enamel additions. Molded pins are great for designs that look great printed on metal and don’t require any color. Molded pins are one of the most affordable custom pin options.
4) 3D Mold Pins
3D molded pins are perfect for uniquely shaped custom designs. Created by forming custom molds and pouring metal into them, these pins can be customized to fit any shape or detail, no matter how intricate. Like molded pins, 3D molded pins are usually only made of metal and have no color. 3D molded pins generally cost more than soft enamel or molded pins.
The best pin style for your business depends on what you’re looking for. If you have a bold, colorful design that doesn’t require a very high level of detail, then a hard Enamel pin may be perfect for you. If you’re looking for the cheapest pin options, soft Enamel pins or molded pins will help you save even more. If you have a unique shape design that doesn’t require any color, 3D mold pins may be the best option. If you want a more realistic look, consider opting for offset pins. It’s really up to you!
3. Customize your pin
Now that you have a clear idea of what type of pin you want to make, you can begin the product creation process.
First, you’ll indicate the type of pins you want to create, the size of each pin, and how many pins you plan to order. (Please note that the price per stitch will vary depending on the size of your order.)
Then, it’s time to customize! When you order custom pins, you have virtually endless options for making your own. The exact customization options you will have will depend on which enamel pin maker you work with, here are some common options for your reference:
- Material Color/Finish –Choose from Shiny Gold, Shiny Bronze, Shiny Silver, Black Paint, Shiny Nickel, Antique Gold, Antique Silver, Shiny Rose Gold, Shiny Brass, Antique Brass, Antique Nickel, Shiny Copper, Antique Copper, or Brushed Brass finishes. You can also choose between two metallic colors with the same finish if you wish.
- Backing Attachment – Available in Traditional Butterfly Clutch Pin Backing, Rubber Clutch Backing, Deluxe Clutch Backing, 2-Piece Magnet Backing, Safety Pin Backing, Bar Magnet Backing, Rubber Clutch Backing, or Curved Leg Backing Choose between.
- Number of Colors in Design – Choose whether your design will involve no colors, fewer than 5 colors, or any other range of colors up to 21 or more.
- Extra Upgrades – Choose whether you want to add glitter enamel, embossing, additional backing attachments, engraving, sandblasting, thin epoxy coating, luminous enamel, embossing, rhinestones, translucent enamel, or aluminum core metal to your pins.
- Custom Back Cards –Indicate if you would also like to order custom backcards to make your pins 100% retail ready.
Note that some customization options may incur additional fees.

4. Design your pin
Time for the fun part! Now, it’s time to design your pin. If you’re more of an artsy person, or if you’re already selling t-shirts, stickers, or prints with your designs on them, you’ve probably got this all figured out. All you have to do is figure out how big your pins are, create a design that fits the type of pin you choose, and create an eye-catching design that looks great on the pin.
Since pins are often small, we recommend keeping your pin design simple, keeping text to a minimum, and using a bold color palette (or a highly textured design if you’re creating pins without color.) to complete your After designing, simply upload your creations into our DIY online product creation tool and we’ll do the rest!
Not a designer? Don’t worry! You can still make beautiful pins as long as you make sure to work with a pin maker that offers free design services. Do your best to put your ideas on paper and our professional design team will help you bring those ideas to life. Before creating a prototype, we’ll send you a mockup of the design – if everything looks good, we’ll move on to production, if not, we’ll tweak and revise the design as much as possible to get it right. (For free of course!)
5. Approval of samples
You want to work with a manufacturer you can trust…but at the same time, you don’t want to blindly trust anyone! Most of the best enamel pin manufacturers will create models or prototypes for your approval before going into production. You will receive a physical prototype of the enamel pin in the mail or several photos of the finished pin from various angles.
Again, you can always request modifications at no extra cost – but if everything looks good, you’ll approve the sample and your manufacturer will proceed to create the rest of your pins to match.
6. Receive your password
After a relatively short turnaround time, your pins will be complete and you’ll receive them in the mail, ready to sell or decorate or hand out to your staff or do whatever you intend to do with them. Once you get your pins, all that’s left to do is sell them to your target audience! Now that you know all the steps to make an enamel pin, it’s time to get creative!

